Pro-Level No-HEMA Gel Polish: Salon-Quality Application Tips
Get salon-grade results with no-HEMA gel polish—safe, pigmented fall shades and step-by-step application tips for pros and at-home use.
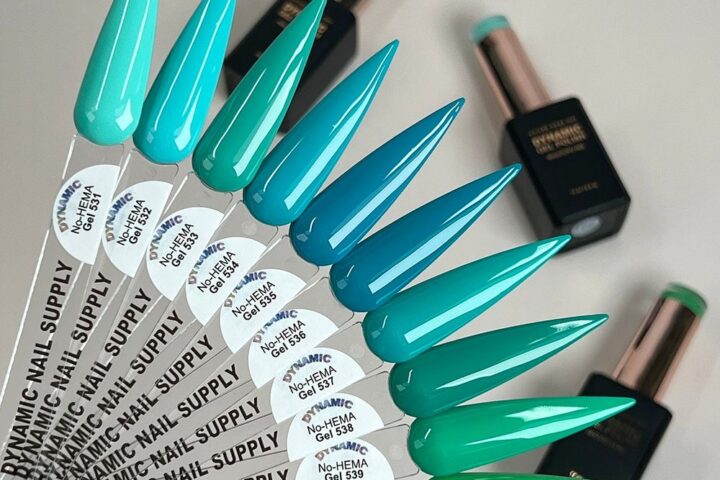
Want salon-quality gels without HEMA? This how-to guide walks through the tools, technique, and timing you need to get professional results with no-HEMA gel polish—whether you’re a nail tech or doing your own manicure at home.
Why choose no-HEMA gel polish for pro results
No-HEMA formulations were developed to reduce the risk of allergic sensitivity and to be gentler on natural nails. These polishes still deliver rich pigmentation and strong finish, while lowering potential exposure to a common allergen. For salons, that means a safer workstation for technicians; for clients, it’s an option worth recommending when sensitivity is a concern.
What’s in the bottle and what to expect
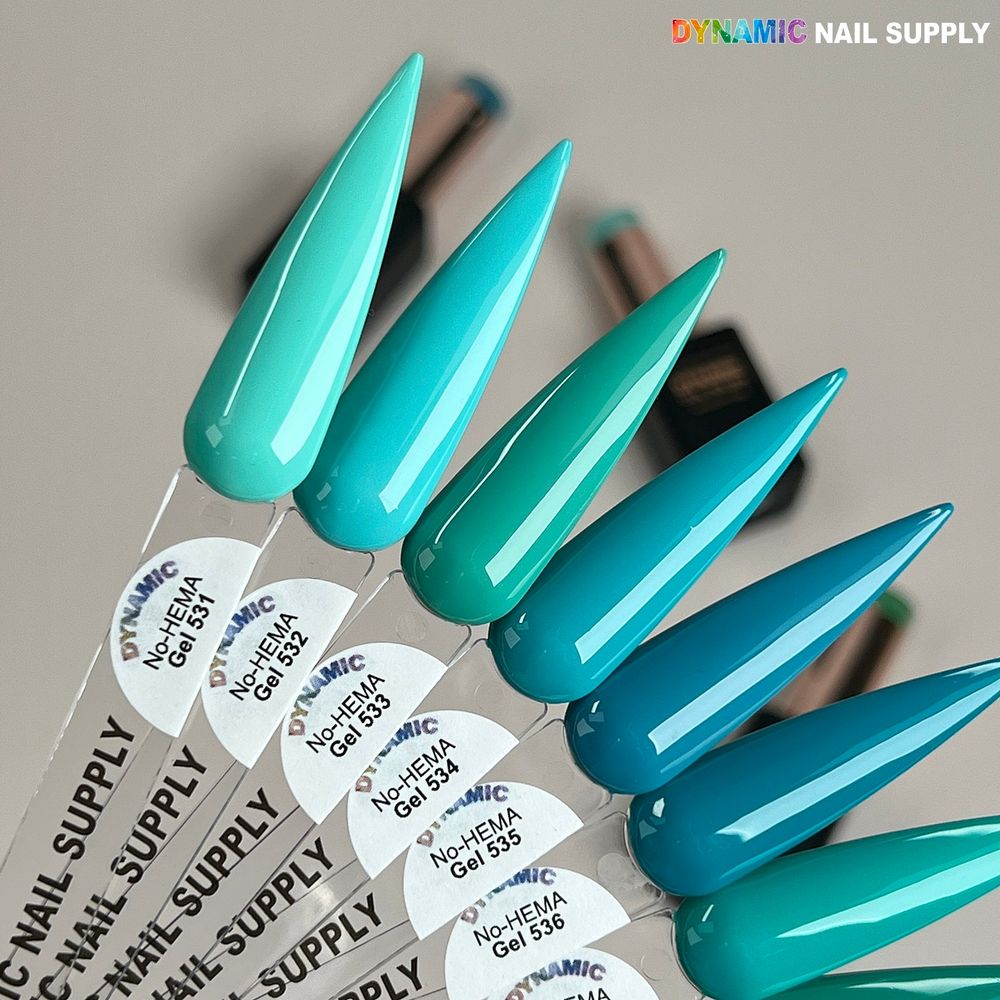
Each 15ml bottle is formulated with a thicker base for easier application and smooth coverage. The pigments are highly concentrated, so one or two thin coats typically build to full opacity. Cure times are quick under lamp—plan on roughly 60–120 seconds per cure step with a UV/LED unit. The finish is described as durable with resistance to chips and cracks when applied correctly.
Quick kit checklist (salon or home)
- 15ml no-HEMA gel polish in your chosen shade
- LED/UV lamp rated for 60–120s cures
- Cleanser or isopropyl alcohol and lint-free wipes
- Cuticle pusher, buffer (180–240 grit), and nail file
- Base product and compatible top coat
- Optional: thin brush for edge cleanup and primer if you use one
Step-by-step application for salon-quality wear
1. Prep like a pro
Start with clean, dry nails. Push back cuticles and lightly buff the nail plate to remove shine—this helps adhesion. Remove dust with a lint-free wipe and alcohol. Proper prep is the single biggest factor in long-lasting gels.
2. Thin base, thin color
Even though the formula has a thicker base that helps coverage, apply thin, controlled layers. Apply a very thin base layer that hugs the free edge, and cure as recommended. When applying color, use two thin coats rather than one heavy coat—each thin layer cures more consistently and resists lifting.
3. Watch your curing
Cure times are short—about 60–120 seconds per layer under a UV/LED lamp—so follow your lamp manufacturer’s guidance and the polish cure window. Under-curing can leave tacky or soft nails; over-curing isn’t necessary and can heat spike on sensitive nails, so stick to the recommended range.
4. Seal and finish
Finish with a compatible top coat and cure. Wipe the inhibition layer if your top coat requires it. A neat edge seal at the free edge helps prevent chips and maximizes wear.
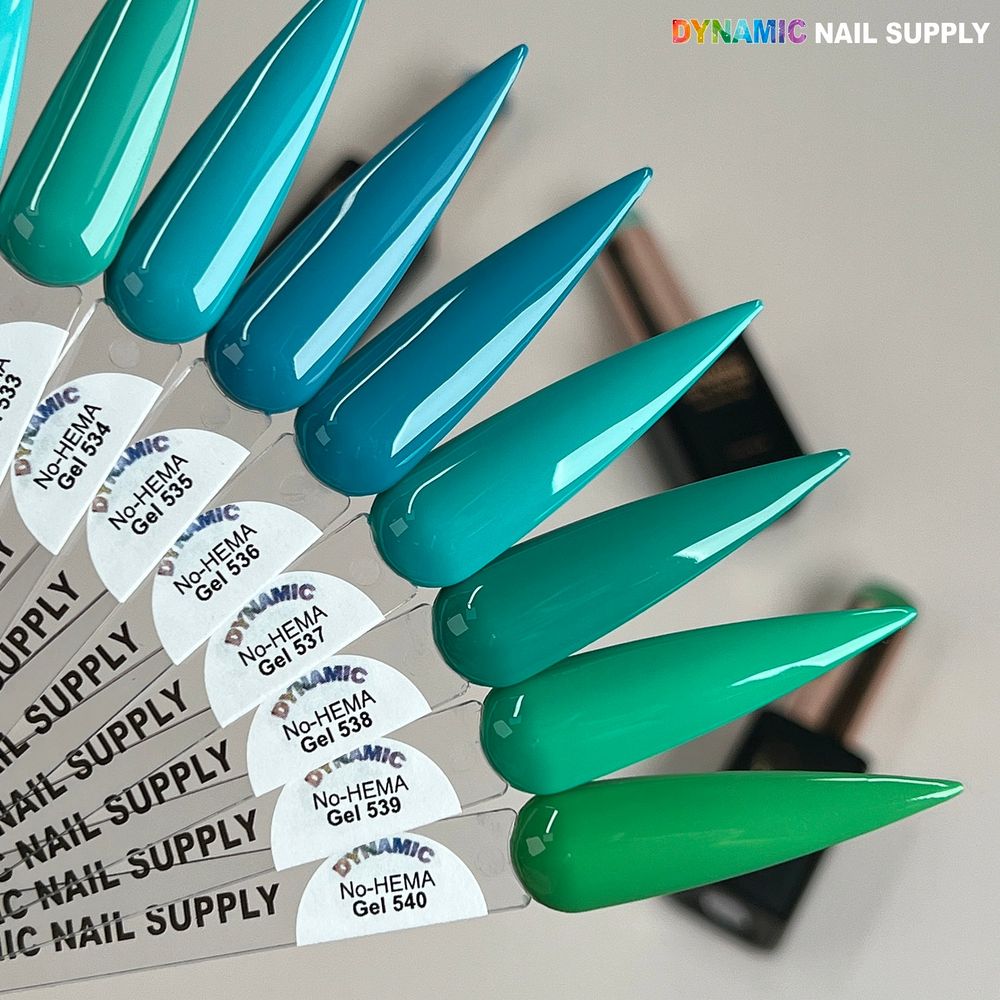
To view the full fall palette, check no-HEMA gel polish colors.
Color selection and layering tips
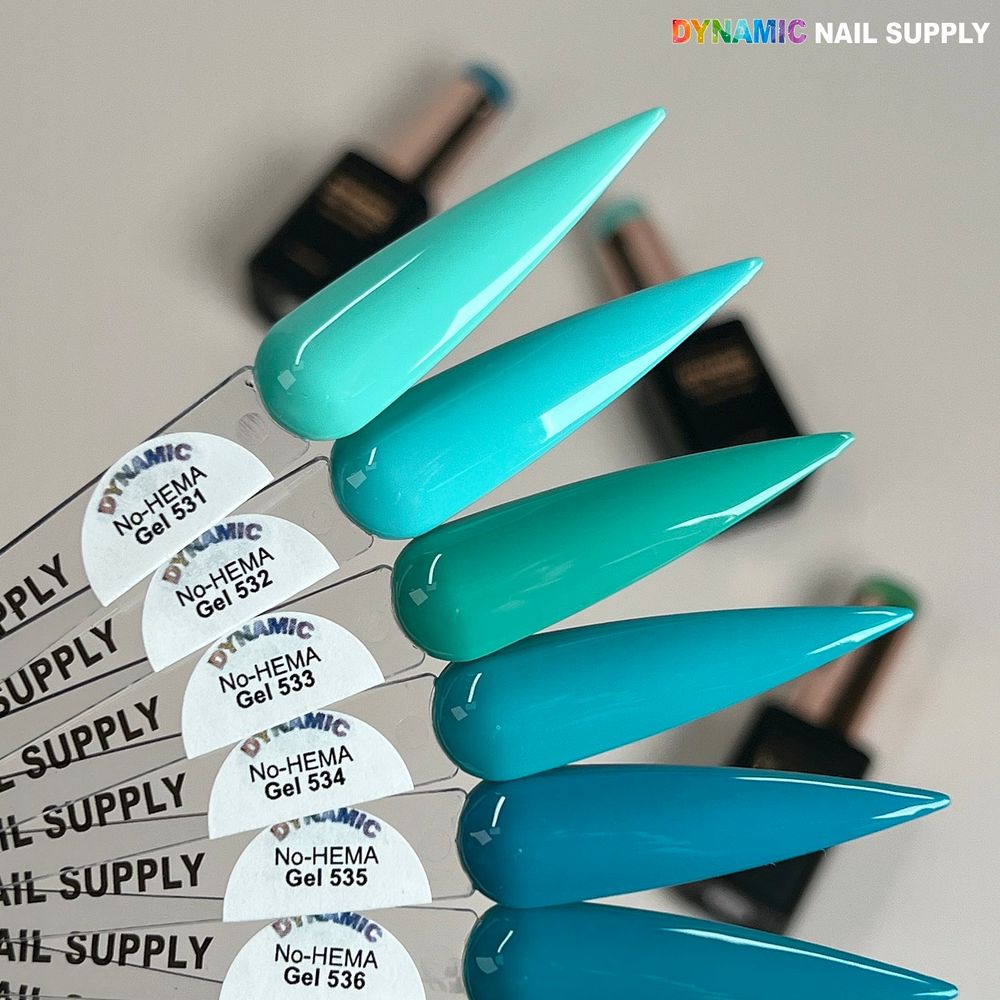
The high pigmentation in these gels means deep, vibrant shades are achievable without multiple heavy coats. For gradient or ombré looks, work with thin translucent layers and a sponge technique or a dry brush blend. If you’re pairing with art, cure each thin color before adding details to keep lines crisp.
Who benefits most from switching to no-HEMA gels
- Clients with known sensitivity or those who’ve experienced reactions—these formulations aim to reduce that risk.
- Nail technicians who prefer lower occupational exposure to certain monomers in their daily work.
- Any tech or hobbyist who wants salon-grade pigmentation and a durable finish while minimizing harsh chemistry.
Care, safety, and salon hygiene notes
No-HEMA gel polish reduces one common source of allergic response, but it doesn’t eliminate the need for safe handling. Avoid skin contact during application, use good ventilation, and clean brushes or tools between clients. If a client reports irritation, stop service and follow salon protocols. For professionals, rotating clients and minimizing direct contact with uncured product lowers exposure over time.
Troubleshooting common issues
- Peeling or lifting: Revisit your prep—oil or dust on the nail is the usual culprit. Light buffing and a clean wipe before base helps.
- Hazy or soft finish: Confirm curing times and lamp output. Ensure each layer is thin and fully cured before the next.
- Streaks or uneven opacity: Use thin, even strokes and let the brush edge redistribute polish; two thin coats beat one heavy coat.
Final tips for consistent professional results
Practice thin layering and edge sealing, keep your lamp and tools maintained, and stock a few staple shades to accelerate service times. When recommending products to clients with sensitivities, mention that these options are HEMA-free and designed with gentleness in mind. Individual bottles are competitively priced at $8 each, so offering a polish upgrade or retail sale is an easy add-on for salons—prices may change.
Used with the right technique, no-HEMA gel polish gives you salon-level color saturation and a resilient finish without involving the monomer many clients and techs prefer to avoid. Keep your kit simple, focus on prep and thin coats, and you’ll get professional, long-lasting results.